
I do not enjoy DIY. However, sometimes it needs doing and this post is my tips and tricks for making it slightly easier that I’ve picked up over the years.
Do your research (before you start)
There’s a first time for everything, but just because you haven’t done it before, doesn’t mean someone hasn’t done it before. If in doubt, search the net and in particular, Youtube. There are tutorials for everything and it’s always worth spending half an hour or so, seeing what perils lie in wait on your upcoming DIY project.
Have a Plan B
Sod’s law, a British culture axiom, states that “if something can go wrong, it will”. The law sometimes has a corollary: that the misfortune will happen at “the worst possible time” (Finagle’s law). The term is commonly used in the United Kingdom (while in many parts of North America the phrase “Murphy’s law” is more popular). — Wikipedia
This happens quite a lot to me: I’m scraping a wall to remove wallpaper1 and a chunk of plaster will fall off. Or, I’ll be drilling a hole and instead of going in nice and straight, it turns into a flipping slot (as shown on bottom hole on photo below):
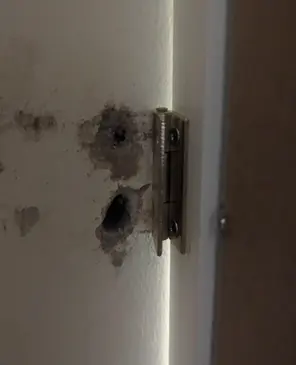
DIY rarely goes 100% to plan and you’ll often need to head back to the store to pick up items you hadn’t anticipated needing. However, if you’ve done your research, you should have already bought whatever you might need when things go tits up (which they will).
Take your time
This applies most of all to drilling. For years, I hated drilling anything as I’d usually end up with at least one slot shaped hole. The solution is take your time. You want to set the drill speed to slow initially, to get the hole started. Once you’ve gone a few millimetres in, you’re usually fine to whack the speed up and push hard on the drill. Try to drill as straight as possible. In spite of your best efforts, if your wall has a void in it, you will not get a good hole. Filler or plaster will need to be on hand!
Buy the best you can afford
When it comes to DIY, you generally get what you pay for. Those paint brushes in the pound shop aren’t a bargain. They’re rubbish and probably won’t even last a year.
The paint trays, rollers, and brushes shown on the photos on this page are over 10 years old, maybe even 15!
I tend to go for mid / upper range equipment. I expect my kit to last a minimum of ten years. Period.
Buy (at least) two of everything
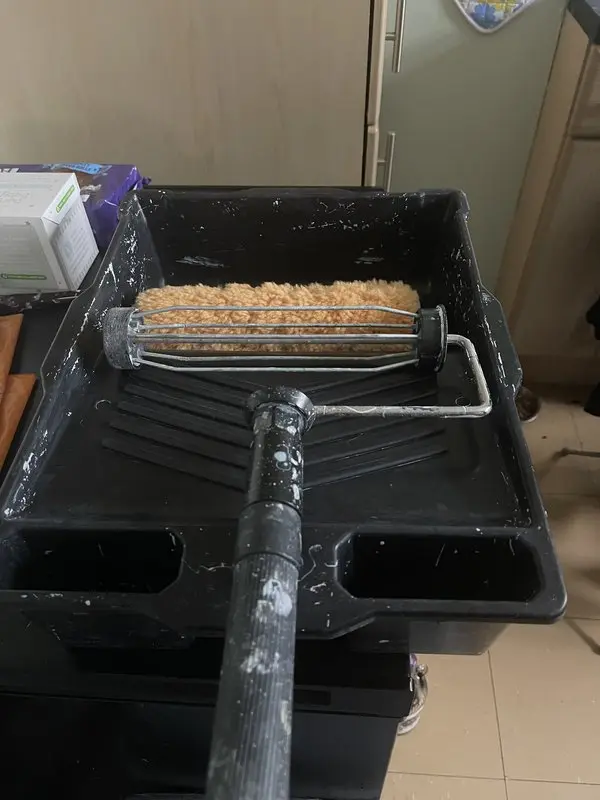
This applies mainly to painting. Get good quality, deep paint trays. Yes, buy two! Same with your rollers. Buy the really thick ones (long pile). I have medium and short pile, but never use them anymore. With the long piles ones you can really load them up with paint. “Experts” say that long pile rollers are best for rough walls, but I’ve found them best for any wall.
By having two sets of painting equipment, you can get the first coat on, clean trays, brushes and rollers and you’ve got another set good to go for the second coat a few hours later.
Another thing you should definitely get two of (if you haven’t already) are water pump pliers:
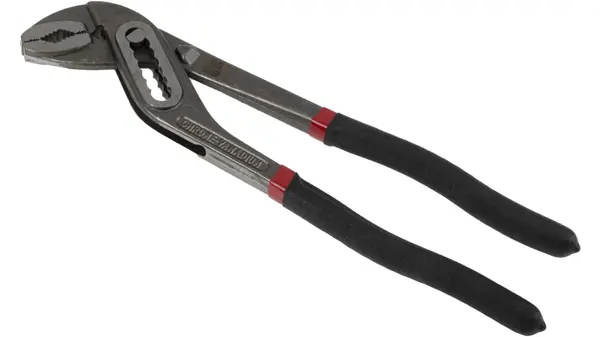
These are so useful for when you get drill bits stuck in the chuck. Since I’ve had two of these, I’ve never not been able to loosen anything!
Measure twice, cut once
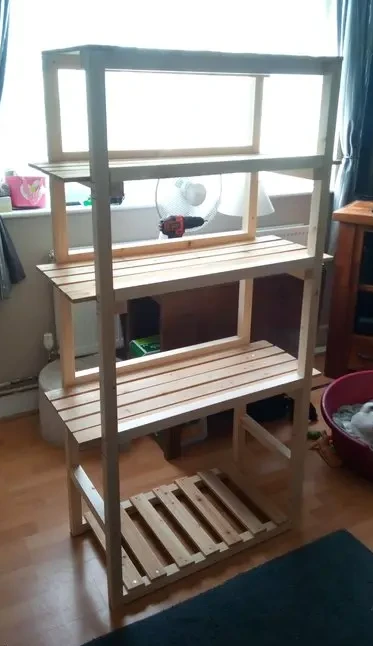
Shelving. Ugh. So many things to go wrong. You’ve got to cut the wood, measure where the holes are to be drilled, make sure it’s level etc. I always double check / triple check every measurement.
Made this bad boy below, along with two other shelf units for my shed. Not really the sort of project I usually go for, but it got my shed organised better than it’s even been.
Clean up at the end
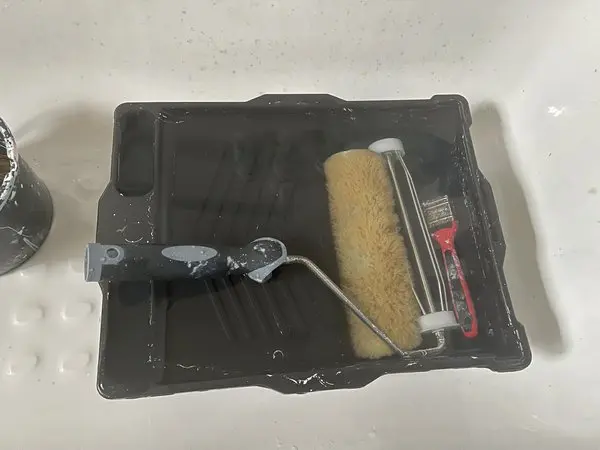
After painting, I’ll spend fifteen / twenty minutes cleaning all my kit. Once everythings dry, I put them away and they’re ready for the next time the other half (or daughter most recently) decides they’re not happy with the current colour.
Footnotes
1 Not anymore for me. Entire house is now wallpaper free.